Breast milk soap has gained popularity in recent years for its potential skin benefits, particularly for those with sensitive skin or conditions like eczema. It’s believed to possess antibacterial properties and to be moisturizing, making it an attractive natural skincare option. In this comprehensive guide, we’ll delve into the benefits of breast milk soap, the necessary ingredients and equipment, and provide a step-by-step recipe for making your own breast milk soap at home.
Why Breast Milk Soap?
Benefits of Breast Milk Soap
Breast milk contains several components that are beneficial for the skin:
- Antibacterial Properties: Breast milk is known to have natural antibacterial properties that can help cleanse the skin and reduce the presence of harmful bacteria.
- Moisturizing: The fats in breast milk help to moisturize the skin, keeping it soft and supple.
- Rich in Vitamins and Minerals: Breast milk contains vitamins A, D, and E, which are essential for healthy skin.
- Gentle on Sensitive Skin: Due to its natural composition, breast milk soap is often gentle on sensitive skin, making it suitable for babies and adults with delicate skin conditions like eczema.
Personal and Eco-Friendly
Making your own breast milk soap is not only beneficial for the skin but also a personal and eco-friendly endeavor. It allows you to know exactly what ingredients are going into your soap, avoiding harmful chemicals found in many commercial soaps. Additionally, using breast milk that might otherwise go to waste is a sustainable practice.
Ingredients and Equipment
Before starting, it’s essential to gather all necessary ingredients and equipment. Here’s what you’ll need:
Ingredients
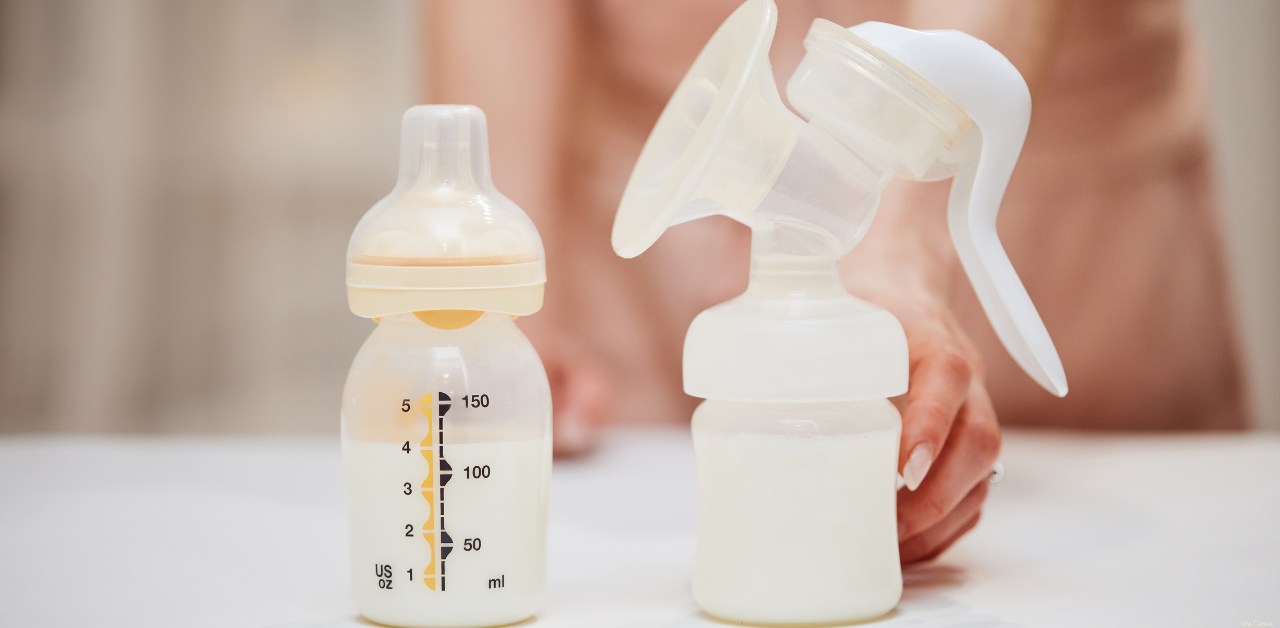
- Breast Milk: 4-6 ounces. Fresh or previously frozen and thawed breast milk can be used.
- Lye (Sodium Hydroxide): 2.7 ounces. Handle with care as lye is a caustic substance.
- Distilled Water: 3.2 ounces. This will be mixed with the lye.
- Olive Oil: 7 ounces. Acts as a moisturizing agent.
- Coconut Oil: 7 ounces. Provides lather and cleansing properties.
- Palm Oil: 7 ounces. Contributes to the soap’s hardness.
- Castor Oil: 1 ounce. Adds to the soap’s lather.
- Essential Oils (Optional): For fragrance. Lavender, chamomile, or tea tree oil are good choices.
Equipment
- Digital Scale: For accurately measuring ingredients.
- Heat-Resistant Containers: For mixing lye and oils.
- Soap Mold: To shape the soap.
- Thermometer: To monitor the temperature of the lye and oils.
- Stick Blender: For mixing the soap batter.
- Protective Gear: Gloves, goggles, and a long-sleeved shirt for handling lye.
- Spoon or Spatula: For stirring.
- Parchment Paper or Plastic Wrap: To line the soap mold if not using a silicone mold.
Step-by-Step Breast Milk Soap Recipe
1. Prepare Your Work Area
Ensure your work area is clean and well-ventilated. Lay out all your ingredients and equipment. Put on your protective gear, including gloves, goggles, and a long-sleeved shirt to protect your skin from lye.
2. Measure and Mix Lye and Water
Using the digital scale, measure 3.2 ounces of distilled water and pour it into a heat-resistant container. Next, measure 2.7 ounces of lye. Slowly add the lye to the water (never the other way around) while stirring continuously. This mixture will heat up rapidly and release fumes, so do this step in a well-ventilated area or under a fume hood. Let the lye-water mixture cool to around 100-110°F.
3. Measure and Melt Oils
Measure the olive oil, coconut oil, palm oil, and castor oil using the digital scale. Combine them in a heat-resistant container. Gently heat the oils until they are fully melted and combined, then let them cool to around 100-110°F, similar to the lye mixture.
4. Combine Lye Mixture and Oils
Once both the lye mixture and oils are at the desired temperature, slowly pour the lye mixture into the oils. Use the stick blender to mix the ingredients until they reach a light trace. Trace is when the mixture starts to thicken and leaves a trail when the blender is lifted.
5. Add Breast Milk
Measure out 4-6 ounces of breast milk. Slowly add the breast milk to the soap mixture, continuing to blend with the stick blender until fully incorporated. The soap mixture will become creamier and thicker.
6. Add Essential Oils (Optional)
If you’re using essential oils, add them now. Typically, 1-2 teaspoons of essential oil are sufficient for a light fragrance. Blend the mixture again to ensure the essential oils are evenly distributed.
7. Pour into Mold
Pour the soap mixture into your prepared soap mold. Use a spoon or spatula to smooth the top. If desired, you can decorate the top with dried herbs or flowers.
8. Insulate and Cure
Cover the soap mold with parchment paper or plastic wrap and insulate with a towel to retain heat, which helps the saponification process. Leave the soap undisturbed for 24-48 hours.
9. Unmold and Cut
After 24-48 hours, check if the soap is firm enough to unmold. If so, remove the soap from the mold and cut it into bars using a knife or soap cutter. If the soap is still soft, let it sit for another day or two.
10. Cure the Soap
Place the cut soap bars on a drying rack or a piece of parchment paper in a well-ventilated area. Allow the soap to cure for 4-6 weeks. This curing process allows the soap to harden and ensures the lye is fully saponified, making the soap safe to use.
Storing and Using Breast Milk Soap
Once your breast milk soap has fully cured, store it in a cool, dry place. Using a soap dish with good drainage will help extend the life of the soap bar by keeping it dry between uses.
Breast milk soap is suitable for daily use on the body and face. Its gentle, moisturizing properties make it an excellent choice for those with sensitive skin or conditions like eczema.
Tips and Troubleshooting
Tips for Success
- Use Fresh Ingredients: Ensure that all your ingredients, especially the breast milk, are fresh to avoid spoilage.
- Accurate Measurements: Precision is key in soap making. Use a digital scale for accurate measurements.
- Temperature Control: Monitor the temperature of the lye and oils carefully to ensure they are within the same range before combining.
- Safety First: Always handle lye with care, using protective gear and working in a well-ventilated area.
Common Issues and Solutions
- Soap is Too Soft: If the soap is too soft after curing, it may need more time to harden. Ensure you measure the ingredients accurately.
- Soap Has Lye Pockets: This can happen if the soap is not mixed thoroughly. Use a stick blender to ensure even mixing.
- Soap Smells Off: If the soap develops an unpleasant smell, the breast milk may have spoiled. Ensure the milk is fresh and properly stored before use.
Also read: The Ultimate Guide to Golden Milk: Benefits, Recipes, and More
Conclusion
Making your own breast milk soap is a rewarding process that results in a gentle, nourishing product for your skin. With its moisturizing properties and potential benefits for sensitive skin, breast milk soap is a fantastic addition to any skincare routine. By following this comprehensive guide, you can create your own batch of breast milk soap, knowing exactly what ingredients are included and enjoying the satisfaction of a handmade, eco-friendly product. Happy soap-making!
Also read: Coffee Loophole Recipe: The Ultimate Guide


