Glowing skin does not always require expensive skincare products. Many effective face masks can be made using simple kitchen ingredients that are natural, affordable, and easy to find at home. These DIY masks can help brighten dull skin, hydrate dryness, reduce oiliness, and improve overall skin texture when used consistently.
The key to achieving healthy, glowing skin is understanding your skin type and choosing the right ingredients that suit your needs. In this guide, you will learn the best DIY face masks for glowing skin using kitchen ingredients, along with their benefits and application tips.
Why Use Kitchen Ingredients for Skincare?
Kitchen ingredients are often rich in vitamins, antioxidants, and natural enzymes that benefit the skin.
Benefits of DIY Face Masks
- Affordable and accessible
- Free from harsh chemicals
- Suitable for most skin types
- Easy to prepare at home
- Customizable based on skin needs
However, it is important to do a patch test before applying any ingredient to your face.
1. Honey and Lemon Brightening Mask
This is one of the most popular DIY masks for glowing skin.
Ingredients:
- 1 tablespoon honey
- 1 teaspoon lemon juice
Benefits:
- Honey hydrates and softens skin
- Lemon helps brighten complexion
- Reduces dullness and uneven tone
How to Use:
Mix ingredients, apply for 10–15 minutes, then rinse with lukewarm water. Use once or twice a week.
2. Yogurt and Turmeric Glow Mask
This mask is great for improving skin texture and natural glow.
Ingredients:
- 2 tablespoons yogurt
- A pinch of turmeric
Benefits:
- Yogurt contains lactic acid for gentle exfoliation
- Turmeric helps reduce dark spots and inflammation
- Gives radiant and smooth skin
How to Use:
Apply evenly on the face for 15 minutes and wash off gently.
3. Oatmeal and Milk Soothing Mask
Perfect for sensitive or irritated skin.
Ingredients:
- 2 tablespoons oatmeal
- 2–3 tablespoons milk
Benefits:
- Oatmeal calms inflammation
- Milk softens and nourishes skin
- Helps reduce redness and dryness
How to Use:
Apply as a paste for 15–20 minutes and rinse with cool water.
4. Banana and Honey Hydrating Mask
This mask deeply nourishes dry and tired skin.
Ingredients:
- 1 ripe banana
- 1 tablespoon honey
Benefits:
- Banana is rich in vitamins and potassium
- Honey locks in moisture
- Improves skin elasticity and softness
How to Use:
Mash banana, mix with honey, apply for 15 minutes, then rinse.
5. Aloe Vera and Cucumber Cooling Mask
Ideal for oily and acne-prone skin.
Ingredients:
- 2 tablespoons aloe vera gel
- 2 tablespoons cucumber juice
Benefits:
- Aloe vera soothes and heals skin
- Cucumber reduces puffiness and refreshes skin
- Controls excess oil
How to Use:
Blend ingredients, apply for 15 minutes, and rinse with cold water.
6. Coffee and Milk Exfoliating Mask
Great for removing dead skin and improving circulation.
Ingredients:
- 1 tablespoon coffee grounds
- 2 tablespoons milk
Benefits:
- Gently exfoliates skin
- Improves blood circulation
- Gives instant glow
How to Use:
Massage gently on skin for 2–3 minutes, leave for 10 minutes, then rinse.
Tips for Best Results
Important Skincare Practices
- Always cleanse your face before applying masks
- Use masks 2–3 times per week only
- Moisturize after rinsing
- Avoid overusing acidic ingredients like lemon
- Stay hydrated for better skin results
Consistency is more important than frequent use.
Which Mask Is Best for Your Skin Type?
| Skin Type | Recommended Mask |
|---|---|
| Dry skin | Banana and honey mask |
| Oily skin | Aloe vera and cucumber mask |
| Dull skin | Honey and lemon mask |
| Sensitive skin | Oatmeal and milk mask |
| Normal skin | Yogurt and turmeric mask |
Choosing the right mask improves results significantly.
Common Mistakes to Avoid
| Mistake | Problem |
|---|---|
| Overusing masks | Skin irritation |
| Not patch testing | Allergic reactions |
| Leaving masks too long | Dryness or sensitivity |
| Using harsh ingredients daily | Skin barrier damage |
Proper usage ensures safe and effective results.
How Kitchen Masks Improve Skin Over Time
DIY masks do not provide instant permanent results, but they improve skin gradually by:
- Enhancing hydration
- Supporting natural glow
- Improving texture
- Reducing mild pigmentation
- Boosting softness
Regular use leads to healthier-looking skin over time.
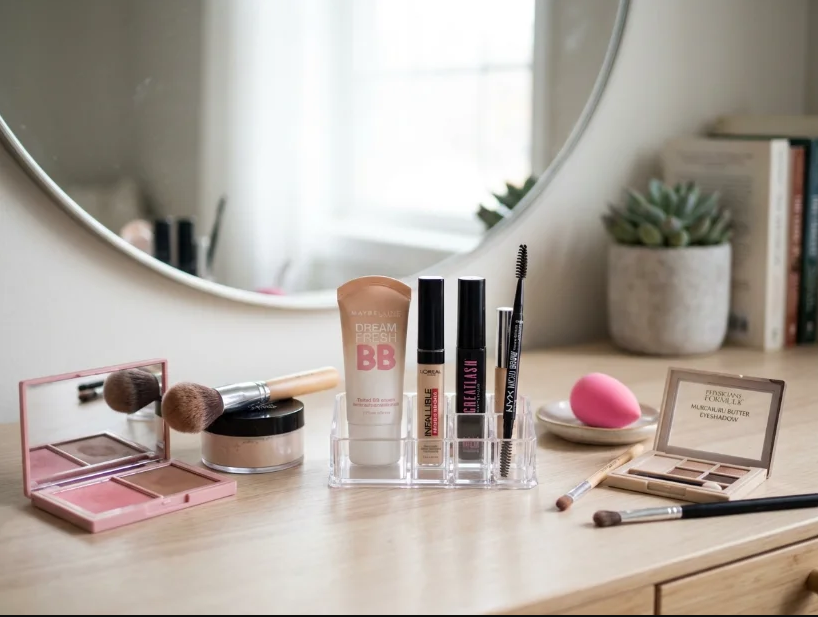
Skincare and Makeup Connection
Healthy skin improves makeup application and overall appearance. A smooth and glowing base allows makeup to sit better and last longer.
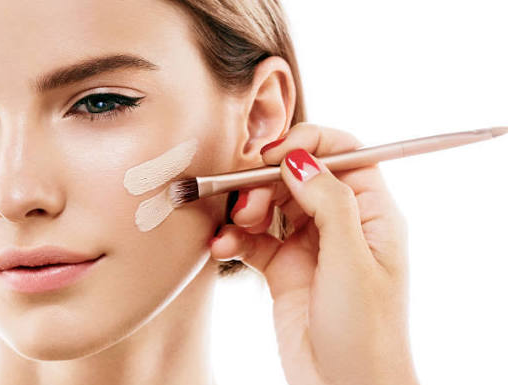
For example, achieving clear skin can also enhance the results of tutorials like Simple Eye Makeup Looks for Hooded Eyes Beginners, where a fresh complexion complements soft and natural eye looks beautifully.
FAQs About DIY Face Masks for Glowing Skin
How often should I use DIY face masks?
Most DIY masks can be used 2–3 times per week depending on your skin type.
Are kitchen ingredients safe for all skin types?
Most are safe, but sensitive skin should always do a patch test first.
Can lemon damage the skin?
Yes, excessive use of lemon can cause irritation or dryness, so it should be used in moderation.
How long does it take to see results?
You may notice mild improvement after a few uses, but consistent application gives better long-term results.
Can I store DIY face masks?
It is best to prepare fresh masks each time for maximum effectiveness.
Which ingredient gives instant glow?
Coffee, honey, and yogurt can give a temporary instant glow effect.
Final Thoughts
DIY face masks using kitchen ingredients are a simple and natural way to improve skin health and achieve a healthy glow. With regular use, these masks can brighten your complexion, improve texture, and keep your skin hydrated without relying on expensive treatments.